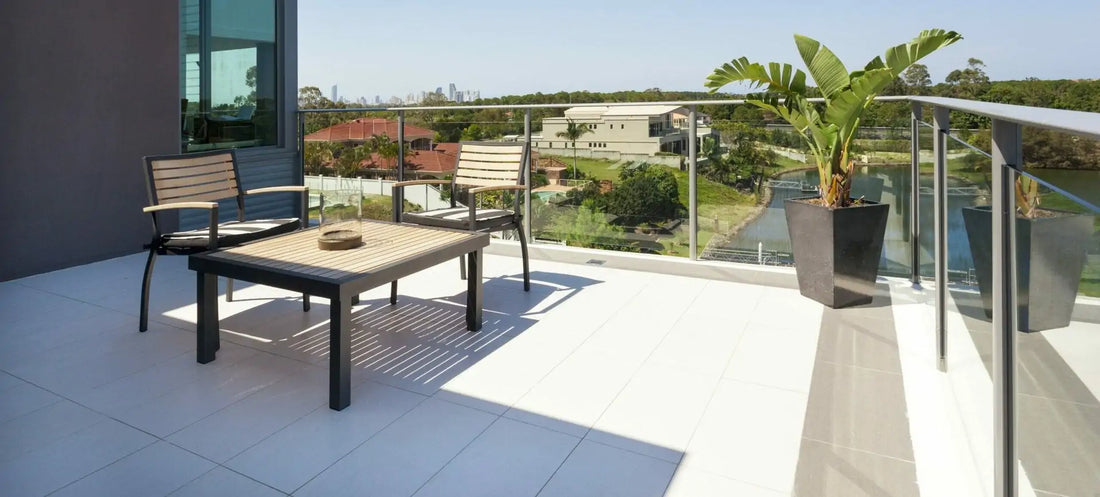
BGC Durafloor is a premium fibre cement flooring product known for its superior strength, moisture resistance, and durability. This guide provides an in-depth, step-by-step installation procedure that complies with BGC's official guidelines.
Note: Always follow the manufacturer's guidelines and adhere to local building codes. Consider hiring a certified professional for installation.
You can find a copy of the technical specifications brochure on the following link.
A video guide to install BGC Durafloor flooring can be found here.
Required Tools and Materials
- BGC Durafloor Sheets
- Corrosion-resistant screws or nails
- Measuring tape
- Chalk line
- Spirit level
- Circular saw with diamond-tipped blade
- Power drill
- Caulking gun
- Construction adhesive
- Weatherproof membrane (if applicable)
- Safety gear: gloves, safety glasses, dust mask
You can find our range of Durafloor products and accessories here.
Pre-Installation Steps
Step 1: Subfloor Preparation
- Ensure the subfloor is level, clean, and free of debris.
Step 2: Weatherproofing (Optional)
- Apply a weatherproof membrane if the installation area is exposed to moisture.
Installation Procedure
Step 1: Planning the Layout
- Use a chalk line to mark the planned sheet layout on the subfloor, ensuring it is square and aligned.
Step 2: Cutting the Durafloor Sheets
- Measure and cut the BGC Durafloor sheets with a circular saw that has a diamond-tipped blade.
Step 3: Pre-Drilling Holes
- Pre-drill holes for screws at designated points as per BGC guidelines.
Step 4: Dry-Fit the First Sheet
- Lay the first sheet as per your layout and temporarily secure it with weights or clamps.
Step 5: Apply Construction Adhesive
- Apply construction adhesive to the subfloor where the first Durafloor sheet will lay.
Step 6: Securing the First Sheet
- Position the first sheet and secure it with corrosion-resistant screws, making sure to follow BGC's specified fastener spacing.
Step 7: Staggering Joints
- When laying additional sheets, stagger the joints and maintain a minimal gap between the sheets as specified by BGC.
Step 8: Sealing Edges
- Seal the edges and joints between the sheets with an appropriate sealant.
Step 9: Continue Installing Additional Sheets
- Repeat Steps 4-8 for each additional sheet, ensuring proper alignment and uniform spacing.
Step 10: Final Inspection
- Conduct a thorough inspection to ensure that all sheets are properly secured and aligned.
Tips and Tricks
- Precision Cutting: Utilize a guide rail with your circular saw for more accurate cuts.
- Consistent Spacing: Use spacers to maintain consistent gaps between the sheets, as this aids in moisture expansion.
- Secure Fastening: Ensure screws are flush with the sheet surface but not overdriven, as this could weaken the sheet structure.
- Level Verification: Use a spirit level frequently to ensure each sheet is perfectly level before securing it.
This comprehensive guide aims to offer a meticulous installation process for BGC Durafloor, allowing for top-notch quality and durability. Durafloor is an ideal choice for those seeking a long-lasting and reliable flooring solution.

