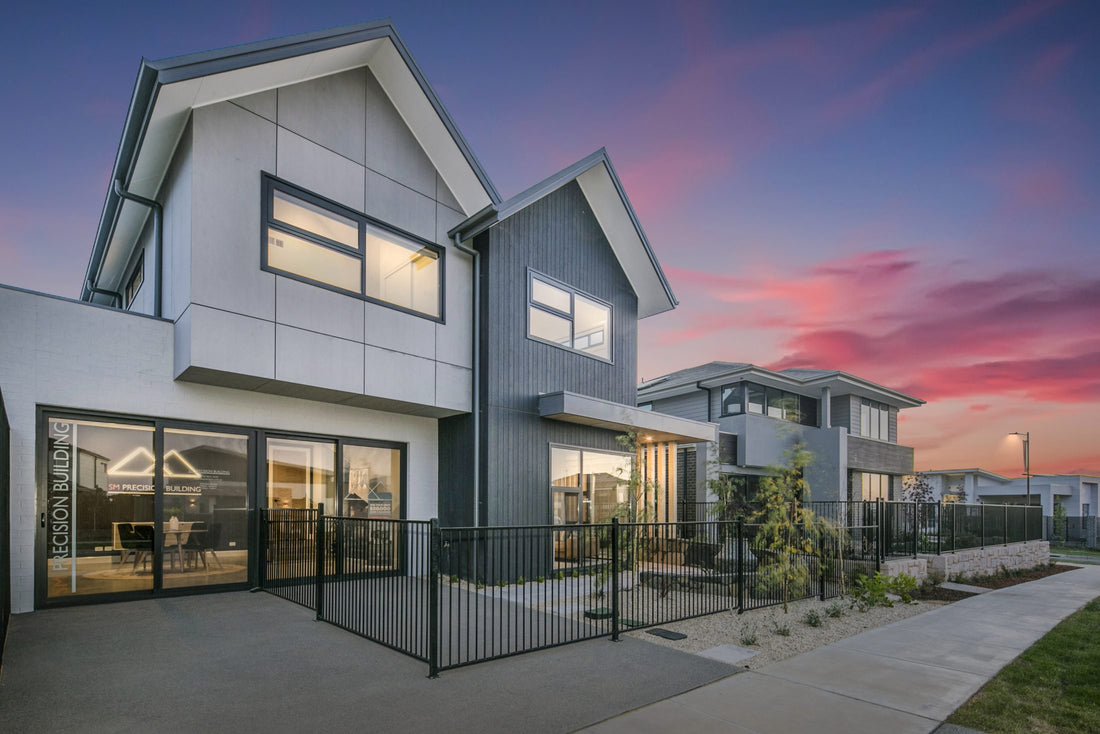
BGC Duracom is a fibre cement facade system that offers exceptional durability, weather resistance, and a sleek, modern finish. This guide provides detailed, step-by-step installation instructions, designed in accordance with BGC’s official guidelines.
Note: Always follow the manufacturer's guidelines and adhere to local building codes. Consider hiring a certified professional for installation.
You can find a copy of the technical specifications brochure on the following link.
Required Tools and Materials
- BGC Duracom Panels
- Corrosion-resistant screws
- Measuring tape
- Chalk line
- Spirit level
- Circular saw with a diamond-tipped blade
- Power drill
- Caulking gun
- Polyurethane sealant
- Weatherproof membrane
- Safety gear: gloves, safety glasses, and a dust mask
You can find our range of Duracom products and accessories here.
Pre-Installation Steps
Step 1: Substrate and Wall Preparation
- Make sure the substrate is clean, level, and dry.
Step 2: Weatherproof Membrane
- Apply a weatherproof membrane on the wall following BGC’s guidelines.
Installation Procedure
Step 1: Plan the Layout
- Utilize a chalk line to indicate where the Duracom panels will be installed.
Step 2: Cut Panels to Size
- Measure and cut the panels using a circular saw with a diamond-tipped blade.
Step 3: Pre-Drill Holes
- Drill holes in the panels as per BGC's specifications for fastening.
Step 4: Position the First Panel
- Align the first panel with the chalk line and secure it provisionally with clamps.
Step 5: Secure the Panel
- Secure the first panel using corrosion-resistant screws, adhering to BGC's spacing guidelines.
Step 6: Joints and Edges
- Fit the joints accurately and use sealant or joiners where specified by BGC.
Step 7: Install Additional Panels
- Continue to install additional panels, making sure they align perfectly with each other and the chalk lines.
Step 8: Apply Sealant
- Use polyurethane sealant on all exposed edges and screw heads for added protection and a seamless look.
Step 9: Final Inspection
- Review the installation to check for any inconsistencies, gaps, or unfastened panels, and correct as necessary.
Tips and Tricks
- Cutting Accuracy: Utilize a guide rail with your circular saw for more accurate cuts.
- Fastener Depth: Ensure the screws are flush but not over-driven into the material.
- Check Alignment: Frequently use a spirit level to ensure panels are properly aligned.
- Sealant Usage: Apply sealant evenly, avoiding both under-application and over-application.
By diligently following this guide in line with BGC's official guidelines, you'll ensure a robust, aesthetically pleasing installation of your Duracom external facades. This premium product provides a combination of durability and style, making it an excellent choice for any high-end construction project.

