
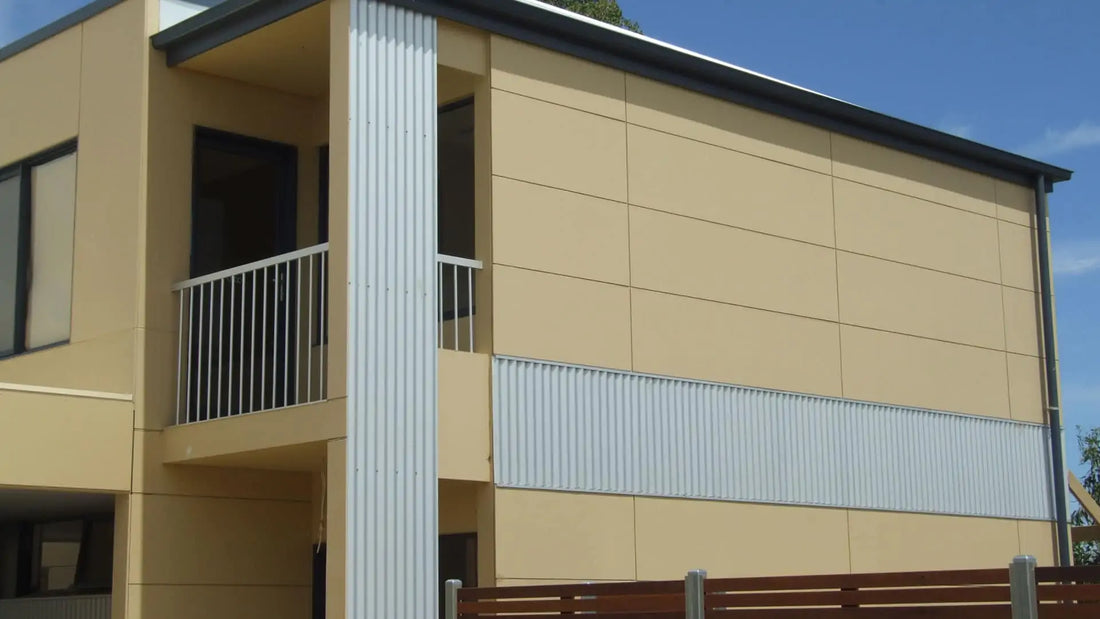
BGC Duragrid is a premier fibre cement facade system known for its durability, aesthetic appeal, and versatility. This guide provides a comprehensive, step-by-step installation process that aligns with BGC’s official guidelines.
Note: Always follow the manufacturer's guidelines and adhere to local building codes. Consider hiring a certified professional for installation.
You can find a copy of the technical specifications brochure on the following link.
![]()
Required Tools and Materials
- BGC Duragrid Panels
- Corrosion-resistant screws
- Measuring tape
- Chalk line
- Spirit level
- Circular saw with a diamond-tipped blade
- Power drill
- Caulking gun
- Polyurethane sealant
- Weatherproof membrane
- Safety gear: gloves, safety glasses, and a dust mask
You can find our range of Duragrid products and accessories here.
Pre-Installation Steps
Step 1: Substrate Preparation
- Ensure the substrate is clean, dry, and level.
Step 2: Apply Weatherproof Membrane
- Install a weatherproof membrane according to BGC’s specifications.
Installation Procedure
Step 1: Layout Planning
- Use a chalk line to mark the positions where the Duragrid panels will be installed.
Step 2: Cut Panels to Size
- Measure and cut the panels using a circular saw with a diamond-tipped blade.
Step 3: Pre-Drill Holes
- Pre-drill holes in the panels, following BGC's recommended spacing for screws.
Step 4: Position the First Panel
- Line up the first panel with the chalk marks and temporarily secure it with clamps.
Step 5: Secure the Panel
- Use corrosion-resistant screws to fasten the panel, adhering to BGC’s guidelines on fastener spacing.
Step 6: Handle Joints
- Fit the joints tightly and apply sealant or use joiners as recommended by BGC.
Step 7: Install Additional Panels
- Continue installing the remaining panels, ensuring correct alignment and spacing.
Step 8: Seal Exposed Edges
- Apply polyurethane sealant to all exposed edges and screw heads.
Step 9: Final Inspection
- Examine the entire installation for any inconsistencies or imperfections and rectify as needed.
Tips and Tricks
- Cutting Accuracy: Utilize a guide rail when cutting for more precise cuts.
- Fastener Depth: Ensure that screws are flush but not over-driven into the material.
- Alignment Checks: Use a spirit level often to confirm panels are aligned correctly.
- Sealant Tips: Apply sealant smoothly and evenly to maximize protection and aesthetic quality.
By following this meticulous guide and BGC's official recommendations, you'll achieve a robust, visually appealing Duragrid facade. This top-quality product perfectly blends longevity with aesthetic charm, making it an excellent choice for a wide range of construction projects.