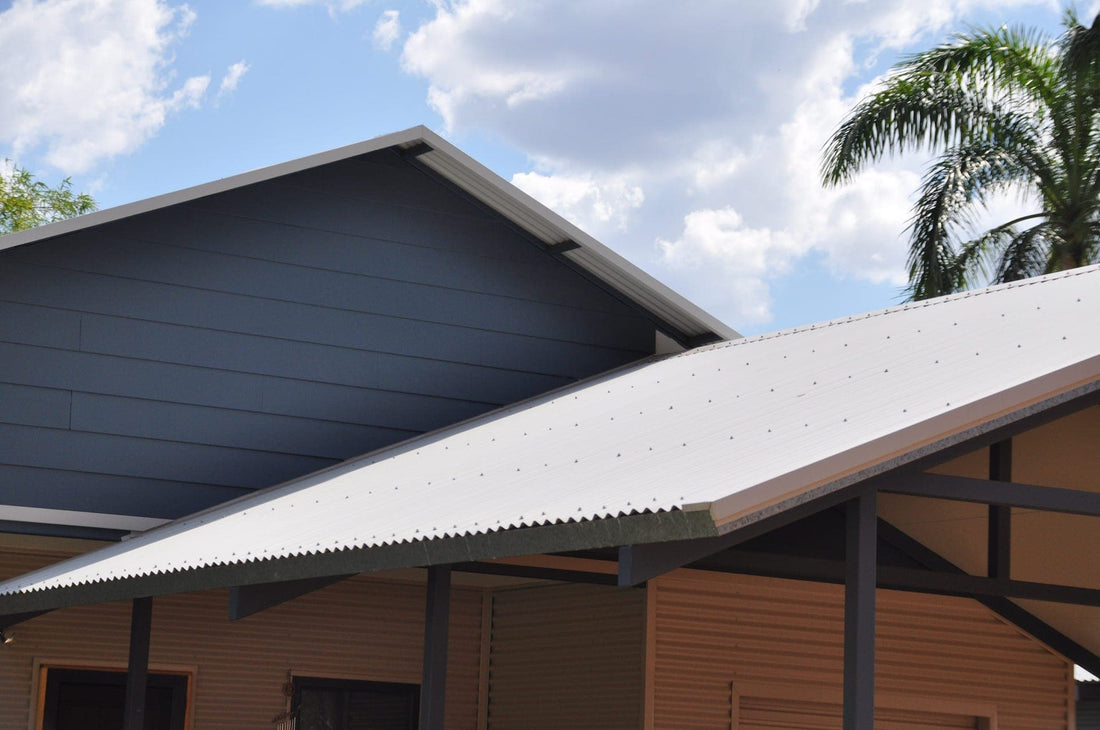
BGC Duraplank is a versatile and durable fibre cement cladding product suitable for a wide range of exterior applications. Whether you're a professional builder or a DIY enthusiast, this comprehensive installation guide will help you achieve a successful and professional finish with Duraplank.
As this is exclusively a guide, we always recommend following the manufacturer's instructions. These can be found in the technical specifications brochure, which can be found on the following link.
Materials and Tools You'll Need:
Before you begin, gather the necessary materials and tools:
- BGC Duraplank cladding boards
- Appropriate fasteners (as recommended by the manufacturer)
- Circular saw with a carbide-tipped blade
- Screw gun or drill
- Spirit level
- Carpenter's square
- Tape measure
- Safety gear (gloves, safety glasses, dust mask, and ear protection)
You can shop our range of Duraplank products and accessories here.
Installation Steps:
-
Prepare the Surface: Ensure the wall or substrate is clean, dry, and free of protruding nails or screws. For added protection, consider applying a weatherproof membrane.
-
Starter Strip (if required): In some installations, particularly when cladding over an existing structure or in coastal areas, a starter strip may be required. This strip helps ensure a level and secure base for your Duraplank cladding. Consult the manufacturer's guidelines to determine if a starter strip is needed and follow their recommendations for installation.
-
Measure and Mark: Measure and mark the desired layout for your Duraplank cladding, ensuring it will be properly spaced and level. Start at one corner and work your way across the wall.
-
Cutting: Use a circular saw with a carbide-tipped blade to cut the Duraplank cladding boards to size. Ensure precise measurements and straight cuts for a professional finish.
-
Attach Duraplank Cladding: Secure the Duraplank cladding boards to the wall or substrate using appropriate fasteners. Ensure the fasteners are evenly spaced along the edges and field, and that they penetrate the studs or substrate adequately.
-
Overlap and Joints: Depending on your design, you may need to overlap the Duraplank boards to create a seamless look. Ensure that the overlapping joints are properly aligned and sealed to prevent water infiltration.
Handy Tips and Tricks:
-
Proper Spacing: Maintain the recommended spacing between cladding boards, typically around 3-5mm, to account for expansion and contraction due to temperature variations.
-
Adhesive Application (if required): If specified by the manufacturer or for added adhesion, apply an appropriate construction adhesive to the back of the Duraplank boards before securing them to the substrate.
-
Sealing Joints: Apply a suitable gap filler or joint sealant to the joints and edges of the cladding boards to create a weatherproof and aesthetically pleasing finish.
-
Starter Strip Installation: When using a starter strip, ensure it is level and securely fastened to the substrate. Follow the manufacturer's guidelines for proper placement and installation.
-
Painting or Finishing: Duraplank can be painted or finished to match your desired color scheme or design. Follow the manufacturer's recommendations for paint or finish application.
-
Regular Maintenance: To ensure the longevity of your Duraplank cladding, perform regular inspections for any signs of damage or wear and perform necessary maintenance as required.
Always consult BGC's official installation guidelines and recommendations for specific details and requirements related to your project. By following these steps, recommendations, and handy tips and tricks, you can achieve a successful installation of BGC Duraplank for your exterior cladding applications. Whether it's a residential or commercial project, Duraplank offers the durability and versatility needed to enhance the aesthetics and performance of your building's exterior.

