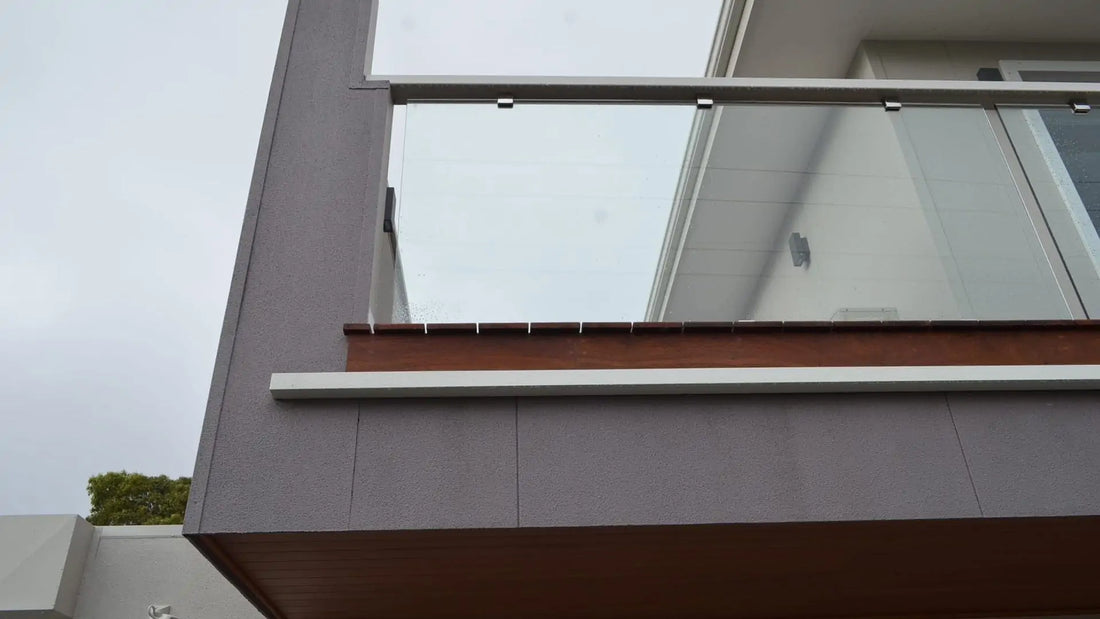
BGC Durascape Cladding is an innovative and versatile fibre cement product that offers superior durability along with a contemporary finish. This installation guide aims to provide detailed, step-by-step instructions, adhering closely to BGC's official guidelines for installation.
Note: Always follow the manufacturer's guidelines and adhere to local building codes. Consider hiring a certified professional for installation.
You can find a copy of the technical specifications brochure on the following link.
Required Tools and Materials
- BGC Durascape Cladding Panels
- Corrosion-resistant screws or nails
- Measuring tape
- Chalk line
- Spirit level
- Circular saw with diamond-tipped blade
- Power drill
- Caulking gun
- Polyurethane sealant
- Weatherproof membrane
- Safety gear: gloves, safety glasses, and dust mask
You can find our range of Durascape cladding and accessories here.
Pre-Installation Steps
Step 1: Wall and Substrate Preparation
- The substrate should be level, clean, and dry prior to installation.
Step 2: Installing Weatherproof Membrane
- Lay a weatherproof membrane on the wall surface according to BGC's recommendations.
Installation Procedure
Step 1: Panel Layout
- Use chalk lines to mark the wall where panels will align.
Step 2: Cutting Panels
- Cut the panels as needed using a circular saw with a diamond-tipped blade.
Step 3: Pre-Drilling Holes
- Pre-drill holes at designated points based on BGC's specifications.
Step 4: Installing the Starter Panel
- Align the first panel carefully with the chalk line and secure it using corrosion-resistant screws or nails.
Step 5: Fastening
- Follow BGC guidelines for fastening, including type and spacing of screws or nails.
Step 6: Joints and Corners
- Use appropriate jointers for panel junctions and corners, or seal them with joint sealant.
Step 7: Installing Additional Panels
- Install additional panels in the same manner, ensuring that they are perfectly aligned.
Step 8: Sealing Exposed Edges
- Apply polyurethane sealant to any exposed edges for additional protection.
Step 9: Final Inspection and Cleanup
- Inspect the installation to ensure everything is correctly aligned and fastened, then clean the surface.
Tips and Tricks
- Precision in Cutting: Using a guide rail with your circular saw can enhance cutting accuracy.
- Screw Spacing: Always refer to BGC's guidelines for accurate screw or nail spacing.
- Alignment: Using a spirit level frequently ensures vertical alignment of the panels.
- Sealant Application: Make sure to apply the sealant evenly for maximum protection.
By following this comprehensive guide and BGC’s official installation instructions, you can ensure a high-quality, durable installation of your Durascape Cladding. The strength and aesthetic versatility of BGC Durascape make it an ideal choice for anyone looking to elevate the exterior of a property.

