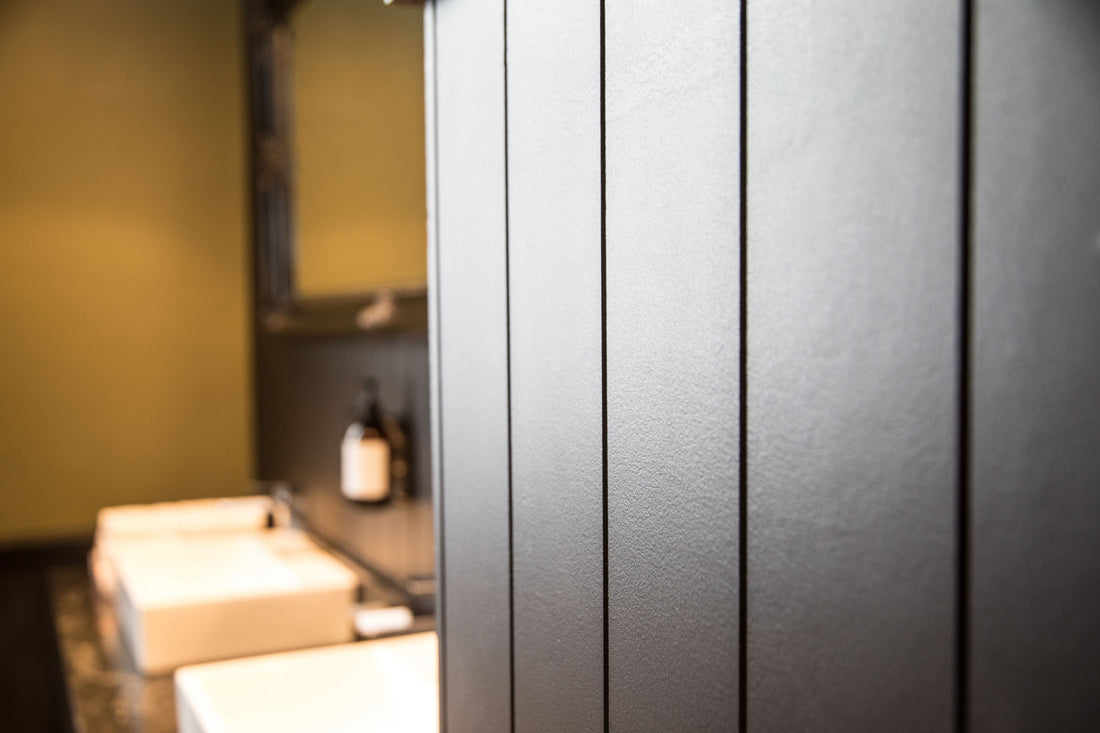
James Hardie HardieGroove cladding stands out for its unique, V-groove design, blending the aesthetic appeal of traditional timber with the durability of fibre cement. This detailed installation guide aims to provide a step-by-step procedure for installing HardieGroove cladding effectively, in line with James Hardie's official guidelines.
Note: Always follow the manufacturer's guidelines and adhere to local building codes. Consider hiring a certified professional for installation.
You can find a copy of the technical specifications brochure on the following link.
Christian T. Hansen has made a great video outlining the installation of HardieGroove in a DIY project. Give it a watch:
Required Tools and Materials
- James Hardie HardieGroove Panels
- Corrosion-resistant screws or nails
- Measuring tape
- Chalk line
- Spirit level
- Circular saw with a PCD diamond blade
- Power drill with appropriate bits
- Caulking gun
- High-grade polyurethane sealant
- Sarking or weather barrier
- Safety gear: gloves, goggles, and dust mask
You can shop our range of HardieGroove panels and accessories here.
Pre-Installation Steps
Step 1: Substrate Preparation
- Inspect and prepare the wall substrate, ensuring it is level and free from defects.
Step 2: Install Weather Barrier
- Apply a weather barrier or sarking to protect against moisture infiltration.
Installation Procedure
Step 1: Marking and Measuring
- Use chalk lines and a spirit level to outline the positions of the HardieGroove panels.
Step 2: Cutting the Panels
- Cut panels to the required dimensions using a circular saw fitted with a PCD diamond blade.
Step 3: Pre-Drilling Holes
- Pre-drill holes for screws or nails in accordance with the manufacturer's specifications.
Step 4: Sealant Application
- Apply a bead of polyurethane sealant along the back edges of the HardieGroove panels.
Step 5: Installing the First Panel
- Line up the first panel with your chalk line and level it before securing it to the substrate.
Step 6: Fastening
- Use corrosion-resistant screws or nails to fasten the panels at designated points, ensuring a minimum penetration of 25mm into the substrate.
Step 7: Panel Joints and Seams
- Ensure joints between panels are tight and apply sealant to any gaps for added protection.
Step 8: Installation of Subsequent Panels
- Continue to install the remaining panels, ensuring they align perfectly with the previous ones.
Step 9: Corner and Edge Details
- Install corner soakers or custom-cut pieces to create seamless corners.
Step 10: Final Sealing and Checking
- Seal all exposed edges and fastener heads with polyurethane sealant.
- Conduct a final review to ensure all panels are securely fastened and aligned.
Tips and Tricks
- Sealant Skills: Apply sealant generously at corners and joints but avoid over-applying to prevent visual defects.
- Cutting Precision: Always double-check your measurements before cutting to minimize material waste.
- Fastener Guidelines: Refer to the manufacturer's manual for exact fastener spacing and types.
- Staging: It's advisable to complete one section at a time for easier quality control and adjustment.
By diligently following this guide and cross-referencing James Hardie’s official installation manual, you can expect a flawless installation of HardieGroove cladding. This high-quality, fibre cement product will not only give your property an aesthetic boost but also deliver lasting performance and durability.

