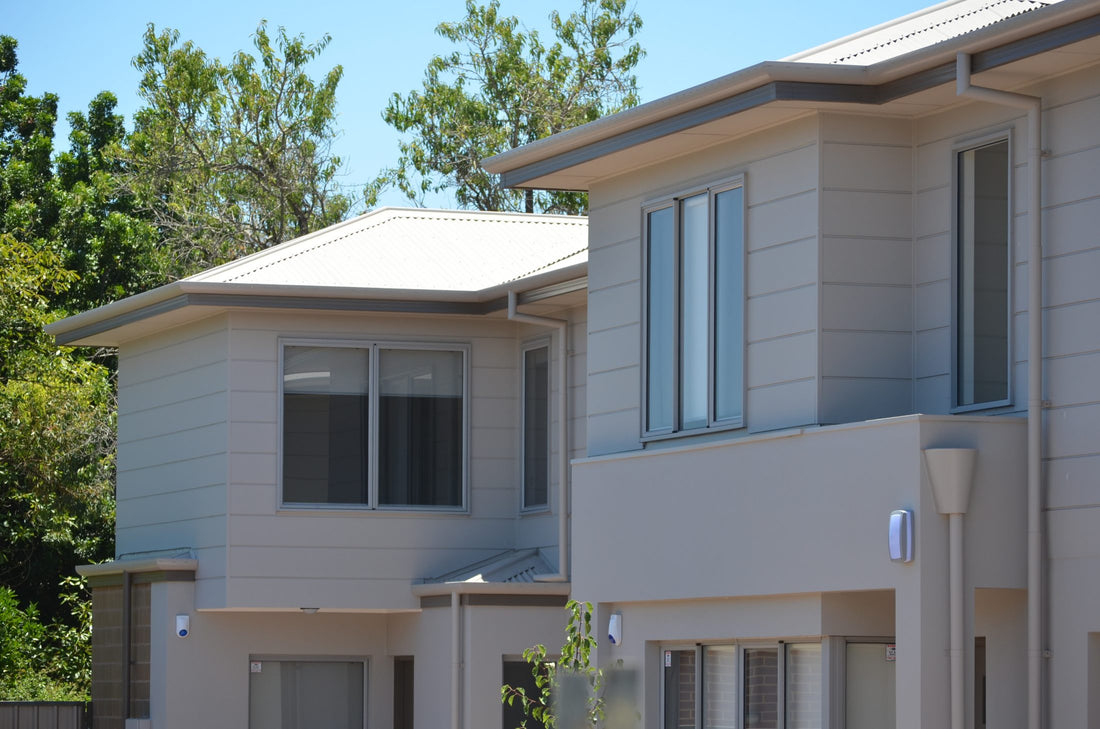
BGC Stratum is a premium fibre cement cladding that offers a mix of durability and aesthetic appeal. Installing it correctly is key to maximizing its benefits.
Note: Always follow the manufacturer's guidelines and adhere to local building codes. Consider hiring a certified professional for installation.
You can find a copy of the technical specifications brochure on the following link.
A short video on the installation of Stratum is hosted by BGC here. It is a great visualiser for the assembly of this cladding.
Required Tools and Materials
- BGC Stratum Cladding Panels
- Corrosion-resistant screws or nails
- Measuring tape
- Chalk line
- Spirit level
- Circular saw with a diamond-tipped blade
- Power drill with screwdriver bit
- Caulking gun
- High-quality external sealant
- Weatherproof membrane
- Safety gear: gloves, goggles, and a dust mask
You can shop our range of Stratum products and accessories here.
Pre-Installation Steps
Step 1: Wall Preparation
- Inspect the wall structure for any flaws and ensure it is completely level.
- Repair any defects before proceeding.
Step 2: Install Weather Barrier
- Apply a weatherproof membrane onto the substrate according to manufacturer specifications.
Installation Procedure
Step 1: Initial Layout
- Use a chalk line and spirit level to mark a straight, level line for the first row of panels.
- Measure and mark the vertical alignment for each panel on the wall.
Step 2: Cut the Panels
- Measure the Stratum panels and cut them using a circular saw equipped with a diamond-tipped blade.
Step 3: Apply Secondary Sealant
- Apply a bead of sealant along the back edge of each Stratum panel as an extra precaution against water ingress.
Step 4: Place the First Panel
- Align the first panel to the chalk line.
- Ensure it is level before securing it with corrosion-resistant screws or nails.
Step 5: Fastening
- Use screws or nails at top, middle, and bottom points of the panel, spacing them according to manufacturer guidelines.
Step 6: Adjacent Panels
- Place the next panel so that it overlaps the first one by a minimum of 30mm or as specified.
- Fasten this panel similarly.
Step 7: Sealing Joints
- Apply external sealant to all vertical and horizontal joints.
- Smooth out excess sealant for a neat finish.
Step 8: Corners and Trims
- For corners and trims, use specialized corner pieces available from BGC or create your own from spare cladding material.
- Attach these securely, sealing all joints.
Step 9: Final Inspection
- Check all fasteners, seals, and alignments to confirm the installation is secure and visually appealing.
Tips and Tricks
- Maintain Uniformity: Ensure fasteners are aligned vertically for a cleaner finish.
- Pre-Drill Holes: For easier fastening, pre-drill holes slightly smaller than the fasteners.
- Waste Reduction: Utilize cut-offs for corners or smaller sections to minimize waste.
- Quality Over Speed: Do not rush the process; attention to detail is key for a high-quality installation.
With BGC Stratum cladding, you'll not only transform the aesthetic appeal of your building but also provide it with long-lasting protection against the elements. Proper installation is crucial for maximizing these benefits.

