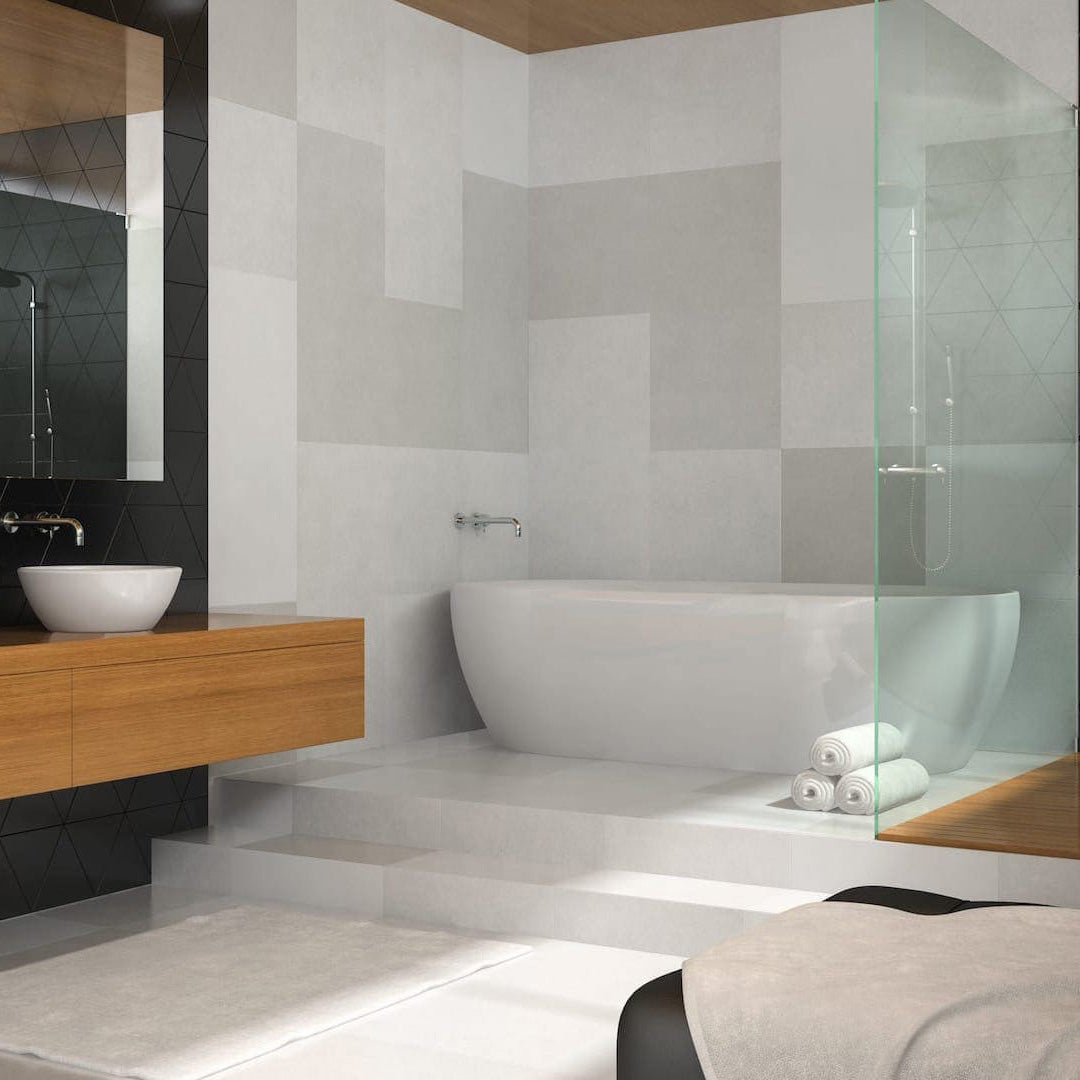
BGC Duraliner is a high-quality fibre cement lining that provides durability and versatility for a wide range of interior applications. Whether you're renovating or building anew, Duraliner can be used for wall and ceiling linings, wet areas, and as a substrate for tiles. This comprehensive guide will walk you through the steps to install BGC Duraliner, covering general installation and considerations for wet areas, along with some helpful tips and tricks.
We aren't able to embed a Duraliner installation video into this guide but can always recommend following the Villaboard installation video which can be found here. Please also make sure to consult the BGC Duraliner technical brochure, which can be accessed on the following link.
Materials and Tools You'll Need:
Before you begin, gather the necessary materials and tools:
- BGC Duraliner sheets
- Appropriate screws (as recommended by the manufacturer)
- Duraliner adhesive or joint sealant
- Circular saw with a carbide-tipped blade
- Screw gun or drill
- Spirit level
- Carpenter's square
- Tape measure
- Safety gear (gloves, safety glasses, dust mask, and ear protection)
- Waterproof membrane (for wet areas)
- Waterproof joint tape (for wet areas)
- Notched trowel (for adhesive application in wet areas)
You can search our range of Duraliner products and accessories here.
Installation Steps:
General Installation:
-
Prepare the Surface: Ensure the wall or substrate is clean, dry, and free of protruding nails or screws.
-
Measure and Mark: Measure and mark the desired sheet dimensions on the wall or ceiling, ensuring the sheets will be properly spaced and level.
-
Cutting: Use a circular saw with a carbide-tipped blade to cut the Duraliner sheets to size. Make sure to wear safety gear when cutting.
-
Attach Duraliner Sheets: Secure the sheets to the wall or ceiling using appropriate screws. Ensure the screws are evenly spaced along the edges and field, and that they penetrate the studs or substrate adequately.
-
Sealing Joints: Apply Duraliner adhesive or joint sealant to the joints and edges of the sheets to create a seamless and durable finish. Feather the edges to create a smooth transition.
Wet Area Installation:
-
Waterproof Membrane: In wet areas such as bathrooms, apply a waterproof membrane to the substrate before installing Duraliner. Follow the manufacturer's instructions for the membrane application.
-
Duraliner Installation: Secure the Duraliner sheets to the waterproofed substrate using screws. Ensure the joints between the sheets are staggered and do not align with the joints in the substrate.
-
Sealing Joints: Apply waterproof joint tape over the seams and joints of the Duraliner sheets. Coat the tape with Duraliner joint sealant using a notched trowel, ensuring a watertight seal.
Tips and Tricks:
-
Smooth Cuts: Ensure clean and smooth cuts by using a sharp circular saw blade. A straight edge or cutting guide can help maintain precision.
-
Proper Spacing: Maintain the recommended screw spacing (typically 150mm along the edges and 200mm in the field) to secure Duraliner sheets adequately.
-
Adhesive Application: When applying adhesive or joint sealant, work in small sections at a time to ensure it doesn't dry before you can smooth it out.
-
Stagger Joints: Stagger the joints between sheets to create a stronger and more stable surface.
-
Prevent Over-Tightening: Be cautious not to over-tighten screws, as this can cause the Duraliner to crack. Follow the recommended screw depth.
-
Double-Check Level: Continuously check for level and plumb as you install sheets, making adjustments as needed to ensure a straight and even finish.
By following these steps, recommendations, and tips, you can achieve a successful installation of BGC Duraliner for your interior applications, whether for general or wet area use. Proper installation ensures a durable and aesthetically pleasing finish for your walls and ceilings.

